
¡YA NACIÓ! – SHE’S BORN! 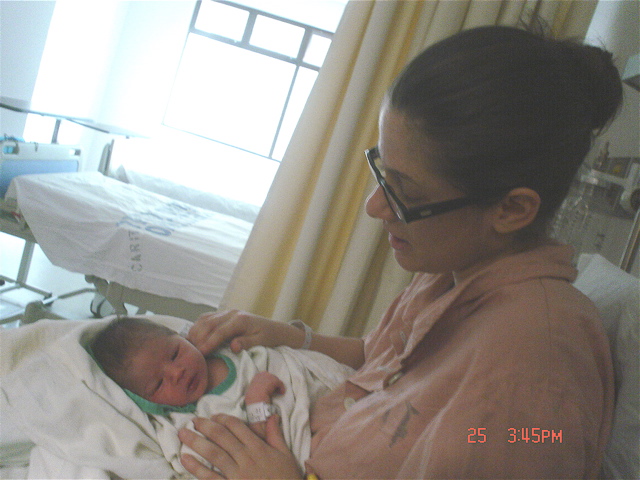
ETAPA 1: Instrucciones  STAGE 1: Instructions
Instrucciones en hebreo. Hebrew instructions: s-baby.doc s-baby
2. Escoja tela cuyo tema no está impreso con dirección específica.
Por ejemplo, si la tela tiene líneas, todos los bloques de la quilt deberán ir hacia un mismo lado, por lo cual este tipo de tela no se presta para este proyecto. 
Choose prints whose theme doesn’t have a specific direction.
For example, if the fabric has stripes, all quilt blocks should go in the same direction; therefore, this type of print isn’t good for this project.
3. Marque los 20 bloques por el revés.
Yo dejo márgenes grandes, por si acaso la tela se deshilacha un poco al manipularla por tantas personas.
Mark the 20 blocks on the wrong side of fabric. 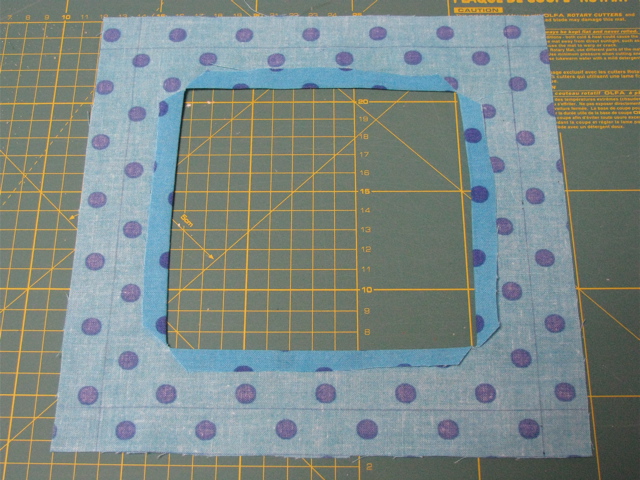
I leave big margins just in case the fabric gets frayed when manipulated by so many people.
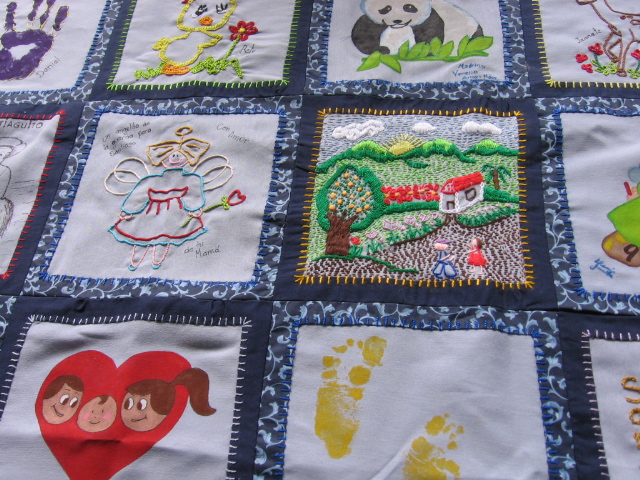
4. Distribuya los bloques a familiares y amigos, quienes tendrán libertad de expresarse por medio de appliqué, bordado o pintura.
Asegurarse de no poner botones o relieves que el bebé puede tragarse.
Distribute the blocks amongst relatives and friends, who will have freedom of expression by way of appliqué, embroidery, or painting.
Make sure not to attach buttons, or protruding things that baby could swallow.
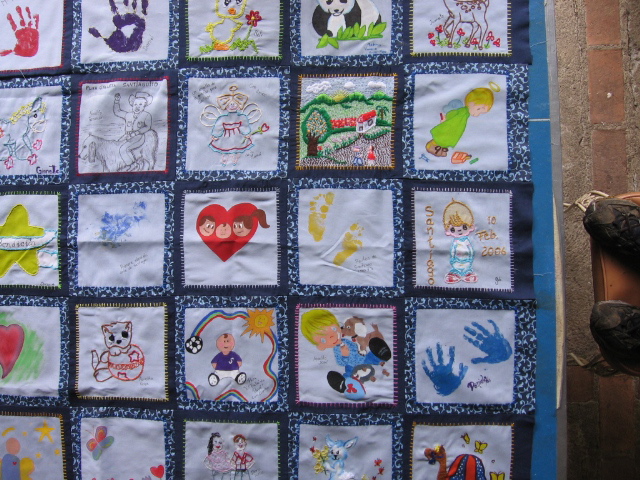
5. Termine de hacer la quilt cuando todos los cuadros estén terminados.
Finish making the quilt once all the blocks are ready.